Slow and Low Heat Method of Making Herbal Infusions
- Jan 10, 2025
- 6 min read
Updated: Jul 21, 2025
Are you curious about how to harness the power of herbs in your cosmetic products? Herbal oil infusions are a fantastic way to do just that. They allow us to capture the therapeutic properties of plants easily and effectively. In this guide, I will share the slow and low heat method for making herbal oil infusions. This method not only preserves the herbs' delicate constituents but also ensures their beneficial & therapeutic properties remain intact.
Understanding this technique helps prevent the loss of essential oils due to high temperatures. Let’s explore the steps to creating your very own herbal oil infusion!
Choosing Your Herbs
Selecting the right herbs is the cornerstone of making effective herbal oil infusions. Depending on your goals, you can opt for various fresh or dried herbs. Here are some popular choices and their benefits:
Calendula: Well-known for promoting skin healing, studies suggest that calendula can reduce inflammation by up to 40%.
Lavender: This herb is famous for its calming effects. Research shows that lavender essential oil can reduce anxiety levels by 30%.
Rosemary: Not only does rosemary invigorate the senses, but it may also improve memory recall by up to 75%, making it an excellent choice for a brain-boosting infusion.
When making your selection, think about the herbs' strength and how they complement the oil you plan to use.

Selecting Your Oil
Choosing the right oil is just as important as selecting your herbs. The oil affects the final product's properties and usability. Consider the following options:
Olive Oil: Rich in antioxidants, olive oil absorbs well into the skin. It’s perfect for infusions meant for topical use.
Coconut Oil: This oil has a high saturated fat content, making it great for absorbing vitamins and nutrients from the herbs.
Jojoba Oil: Closely resembling human sebum, jojoba oil is highly effective for skincare. It helps manage oil production and is suitable for all skin types.
Avocado Oil: The beta carotene, protein, lecithin, fatty acids, and vitamins A, D, and E found in avocado oil help moisturize and protect your skin from damaging UV rays and also increase collagen metabolism
Select your oil based on how you intend to use the infusion, whether for cooking, aromatherapy, or skincare. In our case, we're infusing Avocado Oil for use in cosmetic products.
Preparing Your Ingredients
Preparation is key for successful infusion. If you're using fresh herbs, rinse them gently to remove dirt or insects, then pat them dry with a towel. For dried herbs, simply measure the amount needed. We'll be using dried herbs for this tutorial.
For the best outcome, I suggest using a 1:5 ratio of dried herbs to oil (one part dried herb to five parts oil). This balance ensures your infusion is rich in herbal goodness.
The Infusion Process
Now, let’s get into the heart of the matter: the slow and low heat infusion method. Here’s how to proceed:
Measure out the herb:
Use a clean, dry measuring scale. I used grams to be more precise.

Dried Rosemary
Use a Mortar and Pestle
Choose the Right Materials: Select a mortar and pestle made from materials like ceramic, stone, or wood, depending on your needs.
Prepare Your Ingredients: Break down larger pieces of herbs or spices into smaller chunks to make grinding easier.
Position the Mortar: Place the mortar on a stable surface to prevent slipping while you grind.
Add Ingredients: Place the ingredients into the mortar, ensuring not to overfill it.
Use the Pestle: Hold the pestle firmly and apply pressure to grind the ingredients. Use a circular motion or press down and twist as needed. This will open all the cell walls of the plant material.
Check Consistency: Periodically check the texture of the mixture to ensure it meets your desired consistency. Don't overly macerate. Just a rough grind.
Repeat this process for all the herbs you plan on including in the infusion.

Add all of the herbs to a clean glass bowl. Mix to combine, then add enough distilled water to make the mix slightly moist. This will further enhance the full potential of the plant's cell walls to fully open and become ready for the oil infusion.

Place some saran wrap on the top of the bowl and allow the plant material to hydrate for a minimum of 1 hour. I left mine for 4 hours. You can also leave them overnight, that's perfectly fine and won't have any adverse effects.

Remove the saran wrap and feel the herbs. They should be slightly moist, not wet.

You're now ready to add the oil of your choice to the herbs. Mix well.

Part of the herbal infusion I'm making here include some powdered herbs. I use these at 1/2 the amount of the dried herbs and I don't hydrate them with water, that makes a pasty, cement like mess. I simply add the powdered herbs to the hydrated herbs right after I've poured the oil in and mixed the herbs.

I happen to have a yogurt maker that has a temperature control and timer which is perfect for making herbal infusions or extracts. I poured the herb/oil into the jars.


then added water into the bottom of the heating unit (110° is optimal per the instructions on the maker)

Place the cover on the unit

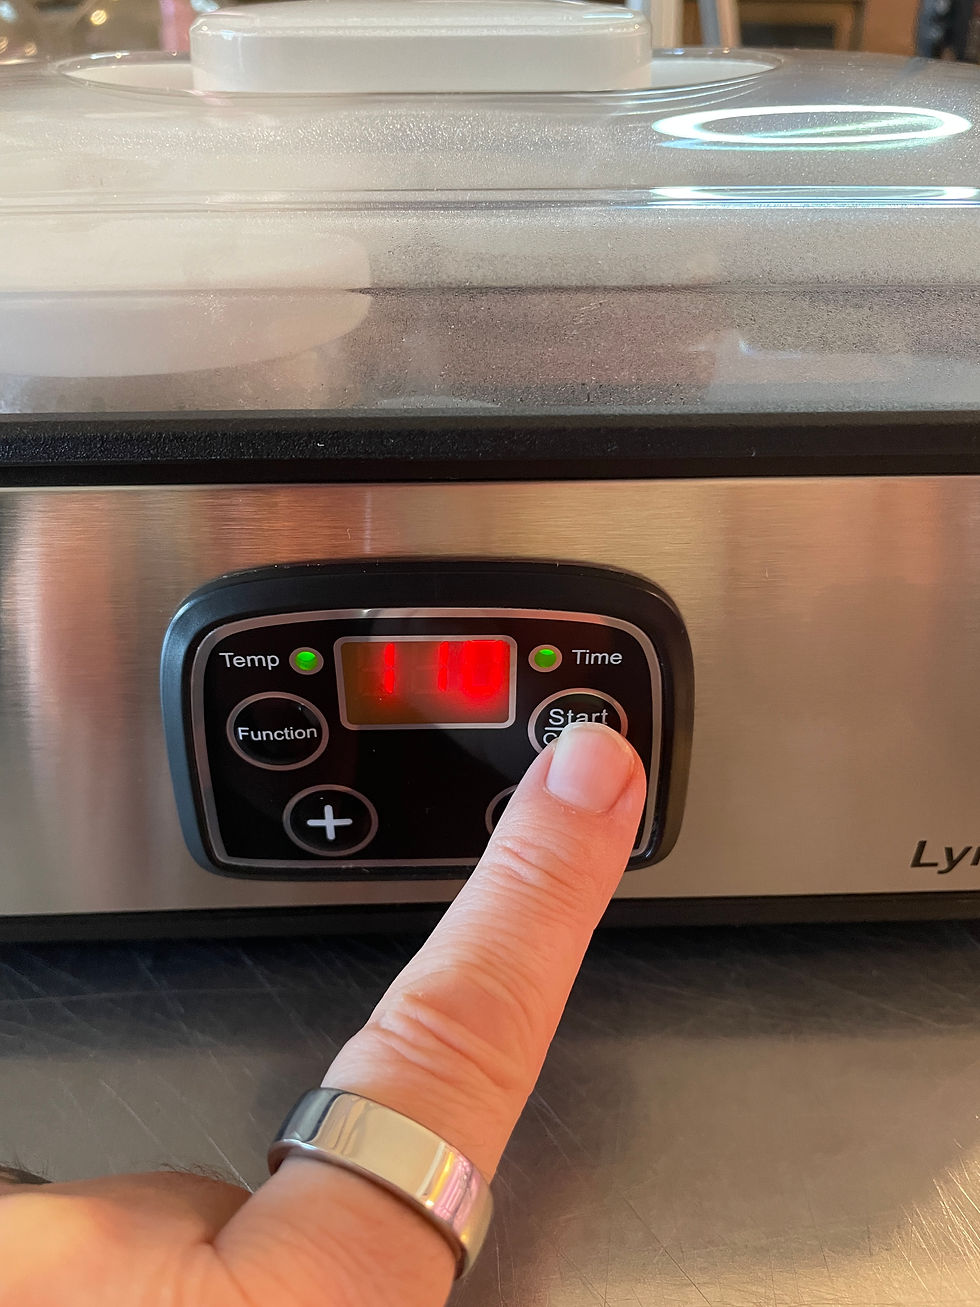
Set the temperature on the unit, set the timer
Let it Infuse: Keep the heat low and allow the infusion to brew for 8 to 10 hours. Remember to stir occasionally to enhance the infusion process.

Finished Oil after 10 hours of Low & Slow Heat Infusion
Cool and Strain: After the infusion is complete, remove the jars from the heat and allow them to cool completely. Once cooled, strain the mixture through a fine strainer or cheesecloth into another clean jar, discarding the leftover plant material.
Store Your Infused Oil: Store your herbal oil in a dark glass bottle to protect it from light. Keep it in a cool, dark place to maintain its potency for up to 6 months.
Using Your Herbal Infusion
The uses for your herbal oil infusion are vast! Here are some ideas on how you can incorporate it into your daily life:
Massage Oil: Ideal for soothing sore muscles, giving you a sense of relaxation after a long day.
Moisturizing Oil: Use it as a skin moisturizer or add it to lotions for enhanced hydration.
Balms & Salves: Balms and salves are topical preparations used for various therapeutic purposes. They are typically made from a combination of natural ingredients, including oils, waxes, and medicinal herbs. Here is an overview of their characteristics and uses:
Characteristics
Texture: Balms are often thicker and more viscous than salves, which may be slightly more fluid.
Base Ingredients: Both may contain beeswax, oils (such as coconut or olive oil), and essential oils for added benefits.
Consistency: Balms generally provide a more occlusive layer on the skin, while salves may absorb more readily.
Uses
Moisturization: Both balms and salves are effective for hydrating dry skin.
Healing: They can aid in the healing of minor cuts, scrapes, and burns.
Soothing: Many formulations include ingredients that help soothe irritation or inflammation.
Massage: Some balms are designed for muscle relief and can be used during massage therapy.
Feel free to experiment with various herbs and oils to create blends that meet your personal needs!
Troubleshooting Common Issues
While making herbal oil infusions is generally simple, you may face some issues. Here are a few problems along with their solutions:
Infusion is Weak: If your infusion smells weak, extend the infusion time or increase the amount of herbs in the initial mixture.
Cloudy Oil: Cloudiness can result from too much moisture in the herbs. Make sure when you are hydrating them, that you don't overdo it.
Rancid Oil: To prevent rancidity, always store your oil in a dark glass bottle away from sunlight. Use stable oils, like olive, avocado or coconut, to help your infusion last longer.
Unlocking Herbal Benefits at Home
Creating herbal oil infusions using the slow and low heat method is an approachable and gratifying process. By selecting the right herbs and oils and following the proper steps, you can craft versatile products for diverse uses.
I encourage you to explore various combinations and share your experiences with others. Let’s keep the conversation going about bringing the healing benefits of nature into the products we make!
If you moisten the herbs with water first, would that not require a preservative then?